

HubSpot is one of the most powerful platforms for running email campaigns, but most businesses barely scratch the surface of what it can do. If you searched for a HubSpot email marketing guide, you’re probably in one of two spots: either you’re setting up HubSpot for the first time and want to get it right, or you’ve been using it but your results aren’t matching your effort.
At Client Factory, we build client acquisition systems for service businesses and law firms, and email is almost always a core piece of that puzzle. We’ve spent years inside HubSpot’s email tools, testing what actually moves the needle on open rates, click-throughs, and booked appointments. So this guide comes from hands-on experience, not theory.
Below, we’ll walk you through everything from initial setup and authentication to building automated workflows, segmenting your lists, writing emails that convert, and tracking the metrics that matter. Whether you’re a business owner handling marketing yourself or a marketing manager looking to tighten your funnel, this guide gives you a clear, step-by-step path to getting real results from HubSpot email marketing in 2026.
What you need before you start in HubSpot
Before you send a single email, getting your foundation right saves you from problems that kill deliverability and waste your list. Skipping prep work is the number-one reason businesses get stuck mid-setup or end up with spam complaints that tank their sending reputation. This section covers what you actually need to have in place before you touch HubSpot’s email editor, so you’re not backtracking once you’re in the middle of building campaigns.
Choose the right HubSpot plan
HubSpot offers several tiers, and which plan you choose determines what email features you can access. The free plan lets you send basic marketing emails, but you’re capped at 2,000 sends per month and every email carries HubSpot branding in the footer. If you need A/B testing, advanced segmentation, or full automation workflows, you’ll need at least the Marketing Hub Starter plan.
Here’s a quick breakdown of what each tier gives you for email:
| Plan | Monthly Send Limit | A/B Testing | Automation | HubSpot Branding |
|---|---|---|---|---|
| Free | 2,000 emails | No | Basic sequences only | Yes |
| Starter | 5x your contact count | No | Basic | Removed |
| Professional | 10x your contact count | Yes | Full workflow builder | Removed |
| Enterprise | 20x your contact count | Yes | Advanced + AI tools | Removed |
For most service businesses working through a solid hubspot email marketing guide, Marketing Hub Professional is the right tier. It unlocks the full workflow builder, which is where most of the real lead nurturing and follow-up automation happens. Check your contact volume now so you don’t underestimate which plan you’ll actually need.
Get your contact data ready
Your email program is only as strong as the list behind it. Before you import contacts into HubSpot, clean your data and confirm you have explicit permission to email each person. Sending to cold or unverified lists will spike your bounce rate and damage your sender reputation quickly.
A bounce rate above 2% signals to inbox providers that your list hygiene is poor, and they will push your emails into spam folders across the board.
When you prepare your contact file, make sure each row has at minimum a valid email address and a first name so you can personalize from day one. Remove duplicates, fix obvious formatting errors like missing "@" symbols or extra spaces, and scrub any addresses from old purchased lists you no longer have a valid relationship with. Export your contacts as a CSV with clean column headers: "Email," "First Name," "Last Name," and "Company" are the core four to start with. HubSpot maps these to its default contact properties automatically, which keeps your import clean.
Gather your brand assets and sending details
HubSpot needs a few key inputs before you start building emails. Your sending domain (the email address your campaigns will come from) needs to be decided upfront because you’ll configure email authentication around it in the next step. Avoid using free email providers like Gmail or Yahoo for business sends; use a domain you own, such as hello@yourdomain.com or marketing@yourbusiness.com.
You also need your logo file saved as a PNG, your brand hex color codes, and any required footer legal copy such as your physical business address, which CAN-SPAM law requires you to include in every commercial email sent to US recipients. Having these ready means you configure your brand kit in HubSpot once and pull it into every template automatically. Tracking down these assets mid-build slows you down and leads to inconsistent branding across campaigns.
Set up HubSpot for reliable email sending
Once your assets and contacts are ready, authentication is the first thing to configure in HubSpot before you send anything. Skipping this step means your emails are far more likely to land in spam folders, regardless of how good your content is. HubSpot’s sending infrastructure is solid, but inbox providers like Gmail and Outlook still need to verify that you own the domain you’re sending from.
Authenticate your sending domain with SPF, DKIM, and DMARC
Authentication works through three DNS records you add to your domain host: SPF, DKIM, and DMARC. HubSpot generates the values for SPF and DKIM automatically once you connect your sending domain. To do this, go to Settings > Marketing > Email > Sending Domains in your HubSpot portal, then click "Connect a domain." HubSpot will display the exact DNS records you need to add.
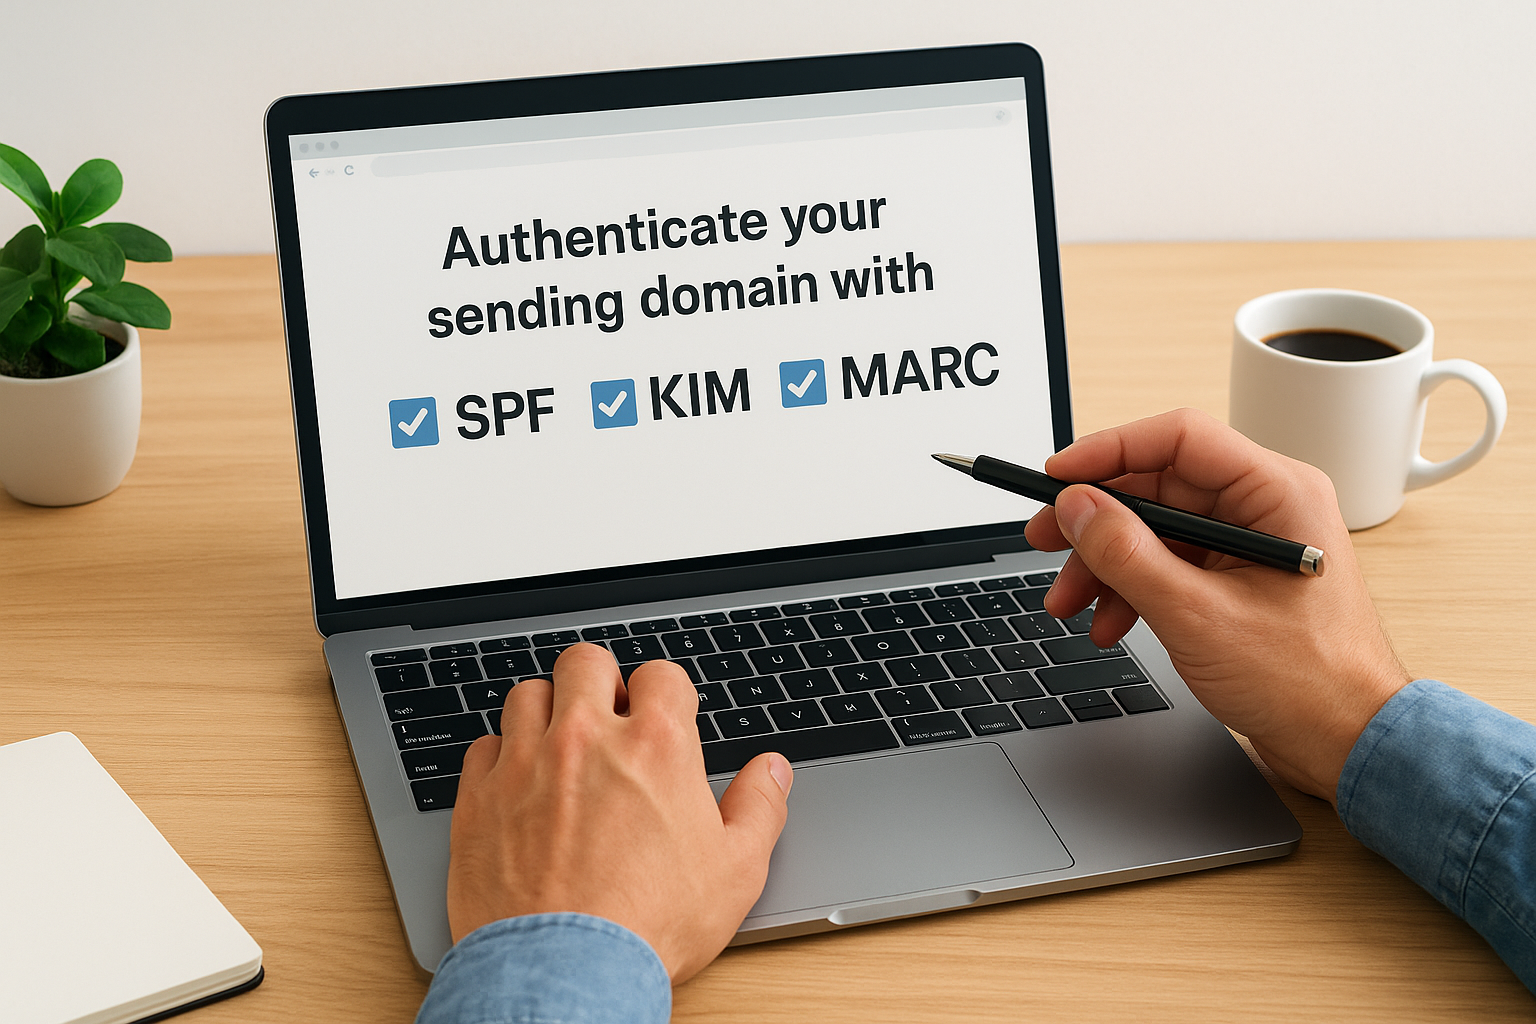
Copy those records into your domain host’s DNS settings (GoDaddy, Namecheap, Cloudflare, or wherever you registered your domain). SPF confirms HubSpot is authorized to send on your behalf. DKIM adds a cryptographic signature to each email so providers can verify it was not tampered with. Once both are verified, add a DMARC record to your DNS to tell inbox providers what to do if an email fails authentication. A basic starting DMARC record looks like this:
v=DMARC1; p=none; rua=mailto:dmarc-reports@yourdomain.com
DNS changes can take up to 48 hours to propagate, so complete this setup several days before your first planned send.
Set up subscription types and your default footer
HubSpot uses [subscription types](https://clientfactory.org/shopify-email-marketing/) to control what categories of email contacts opt into. Before you launch any campaign, go to Settings > Marketing > Email > Subscription Types and create categories that match your email program, such as "Marketing Newsletters," "Event Invitations," and "Client Follow-ups." This structure lets contacts unsubscribe from one category without opting out completely, which keeps your deliverable list larger over time.
Your default email footer also needs your business name and physical mailing address to satisfy CAN-SPAM requirements. Set this once inside HubSpot’s email settings under "Configuration," and it populates every email you send automatically. Following this hubspot email marketing guide setup sequence means your account runs on a deliverability-first foundation from the start.
Build and send your first marketing email
With your account authenticated and subscription types configured, you’re ready to create a campaign. HubSpot’s email editor works on a drag-and-drop system, so you don’t need a developer to build polished, mobile-responsive emails. The key is making smart choices at each step so your first send goes out clean and drives action.
Choose your template and design your email
Go to Marketing > Email > Create email and select "Regular" as your email type. HubSpot offers a library of pre-built templates, but starting with a simple one-column layout keeps your email readable on both desktop and mobile without extra formatting work. Select a template, then use the left panel to drag in content blocks: text, image, button, and divider are the four you’ll use most.
Set your from name and from address at the top of the editor before you write a single word of body copy. Emails from a real person’s name, such as "Marcus at Client Factory," consistently outperform emails sent from a company name alone. Add your logo to the header, apply your brand colors, and pull in the pre-configured footer HubSpot already has from your setup.
Write subject lines and preview text that get opens
Your subject line and preview text are the only two things a contact sees before they decide to open or ignore your email. Keep subject lines under 50 characters so they display fully on mobile screens. Make the preview text add new information rather than repeat the subject line.
Here’s a simple framework to follow for service business emails:
- Subject line: State a specific problem or outcome (e.g., "3 reasons your leads aren’t converting")
- Preview text: Add context that creates curiosity (e.g., "The fix is usually simpler than you’d expect")
- Body opener: Address the reader’s situation in the first sentence, not yours
Subject lines with a specific number or a direct question reliably outperform vague or clever lines across service business audiences.
Review, test, and schedule your send
Before you hit send, use HubSpot’s "Send test email" button to push the email to your own inbox and check formatting, link behavior, and personalization tokens. Confirm every link works, the unsubscribe option is visible, and your name tokens like "Hi {{contact.firstname}}," display correctly. Once everything checks out, use the Schedule option to send during peak open windows, typically Tuesday through Thursday between 9 AM and 11 AM in your contacts’ local time zones. This hubspot email marketing guide approach keeps your first send professional and trackable from day one.
Automate follow-ups and nurtures with workflows
HubSpot’s workflow builder is where email marketing moves from manual sends to a system that runs on its own. Workflows let you trigger emails based on specific contact behavior, such as filling out a form, downloading a resource, or visiting a pricing page, so every follow-up reaches the right person at exactly the right moment without you having to act each time.
Set your enrollment trigger correctly
The trigger you choose determines who enters your workflow and when, so getting this right is critical. Go to Automation > Workflows > Create workflow and select "Contact-based" as your workflow type. For lead nurture sequences, common triggers include a form submission, a specific page view, or a contact property changing to a value you define. Avoid using broad triggers like "any form submission" unless you have built separate workflows for each funnel stage. One trigger, one workflow keeps your logic clean and your reporting accurate.
Build a simple three-email nurture sequence
Once your trigger is set, add your first email action immediately after enrollment with zero delay. This confirms to your contact that something is happening. Then add a one-day wait step, followed by a second email that goes deeper into a specific problem your contact faces. Add another wait step of two to three days, then send a third email with a clear call to action, such as booking a call or requesting a consultation.
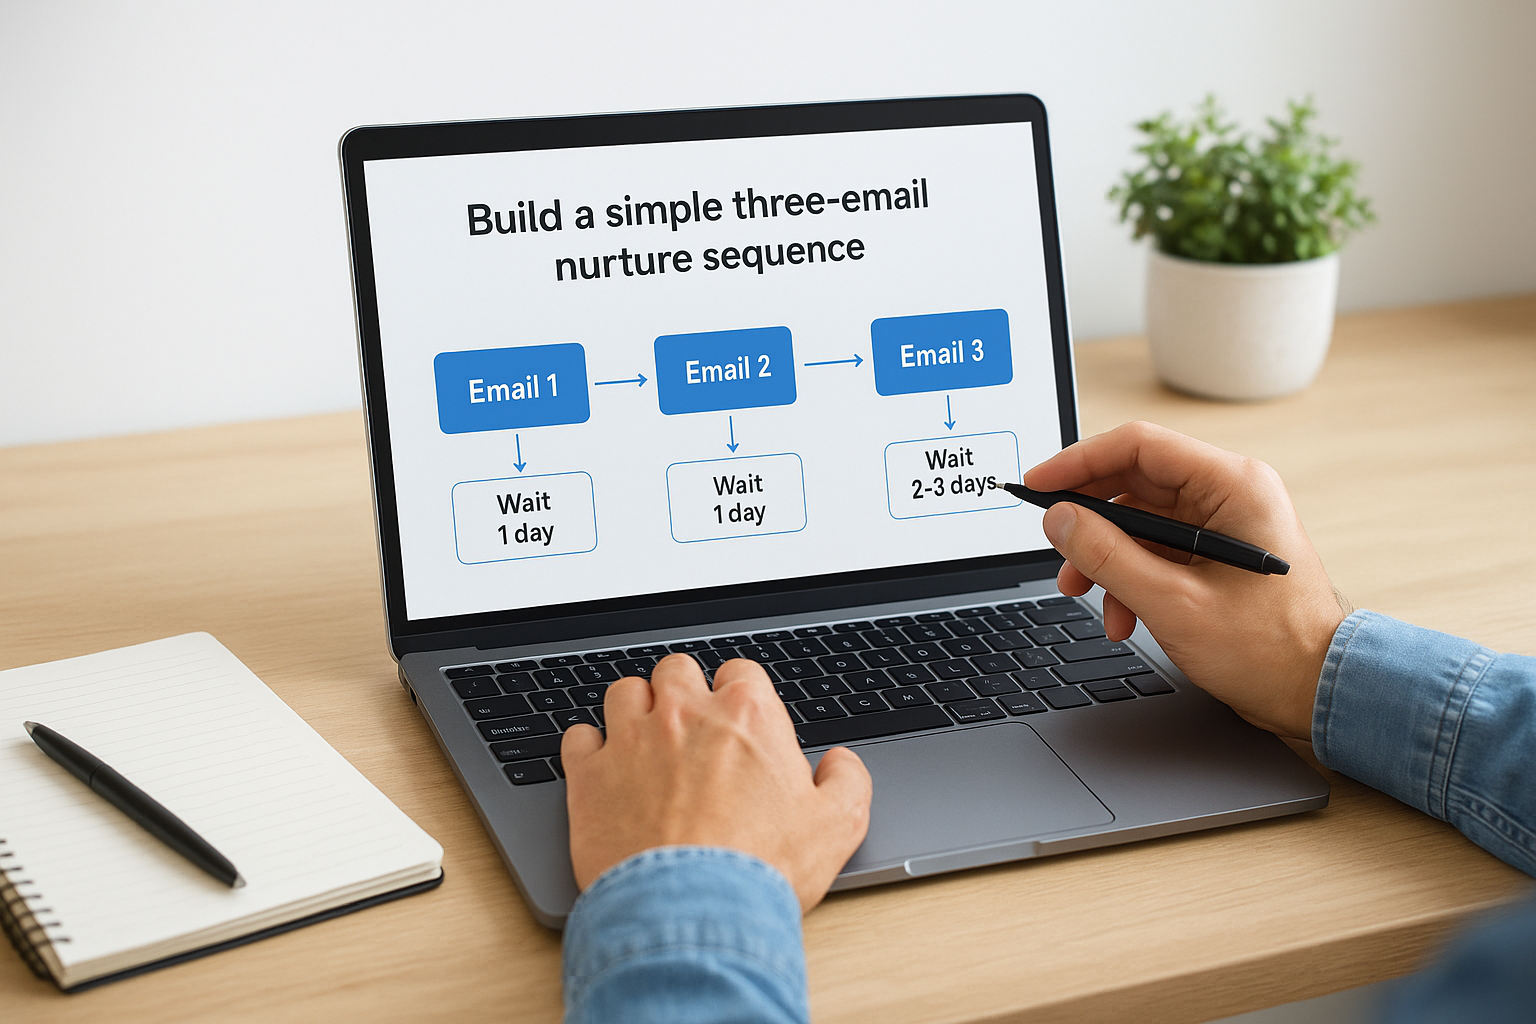
Here is a simple structure for a service business nurture:
| Step | Delay | Email Purpose |
|---|---|---|
| Email 1 | Immediately | Deliver the promised resource or confirm next step |
| Wait | 1 day | – |
| Email 2 | Day 2 | Address a core pain point with specific insight |
| Wait | 2-3 days | – |
| Email 3 | Day 4-5 | Direct CTA: book a call, request a quote, or reply |
Turn on "Goal" tracking inside each workflow so HubSpot stops sending emails to contacts who have already converted, keeping your sequence relevant and your list healthy.
Following this hubspot email marketing guide approach to workflows means your follow-up system runs consistently, even when your team is focused on delivering work for existing clients.
Improve performance with testing and reporting
Sending emails consistently is only half the work. What you do with the data after each send determines whether your results improve over time or stay flat. HubSpot gives you built-in testing and reporting tools that most users ignore, and that is where this hubspot email marketing guide can give you a real edge over competitors who treat every send as a one-time event.
Run A/B tests on subject lines and CTAs
A/B testing in HubSpot lets you send two versions of an email to a portion of your list and automatically deliver the winning version to everyone else. To set one up, select "A/B" as your email type when creating a new email under Marketing > Email > Create email. You can test subject lines, from names, body copy, or button text.
Keep your tests focused on one variable at a time so you know exactly what caused the difference in results. A common mistake is testing a different subject line alongside different body copy, which makes the results impossible to read. Start with subject line tests because they have the most direct impact on open rates. Here is a simple testing framework to follow:
| Variable to test | Version A | Version B | What you’re measuring |
|---|---|---|---|
| Subject line | Question format | Specific number or outcome | Open rate |
| CTA button text | "Book a Call" | "Get Your Free Audit" | Click rate |
| From name | Company name | First name + company | Open rate |
| Send time | 9 AM | 11 AM | Open rate |
Run each A/B test on at least 20% of your list per variant so the results are statistically meaningful before HubSpot picks a winner.
Read your HubSpot email reports correctly
HubSpot generates a performance report for every email you send, accessible under Marketing > Email by clicking into any sent email. Focus on four core metrics: open rate, click-to-open rate (CTOR), unsubscribe rate, and hard bounce rate. Open rate tells you how well your subject line worked. CTOR tells you how well your email content and CTA performed after someone opened it, which is the more honest measure of email quality.
Check your unsubscribe and bounce rates after every send. An unsubscribe rate above 0.5% or a hard bounce rate above 1% signals a list hygiene or targeting problem you need to fix before your next campaign. Reviewing these numbers consistently builds a feedback loop that sharpens every email you send going forward.
Bring it all together
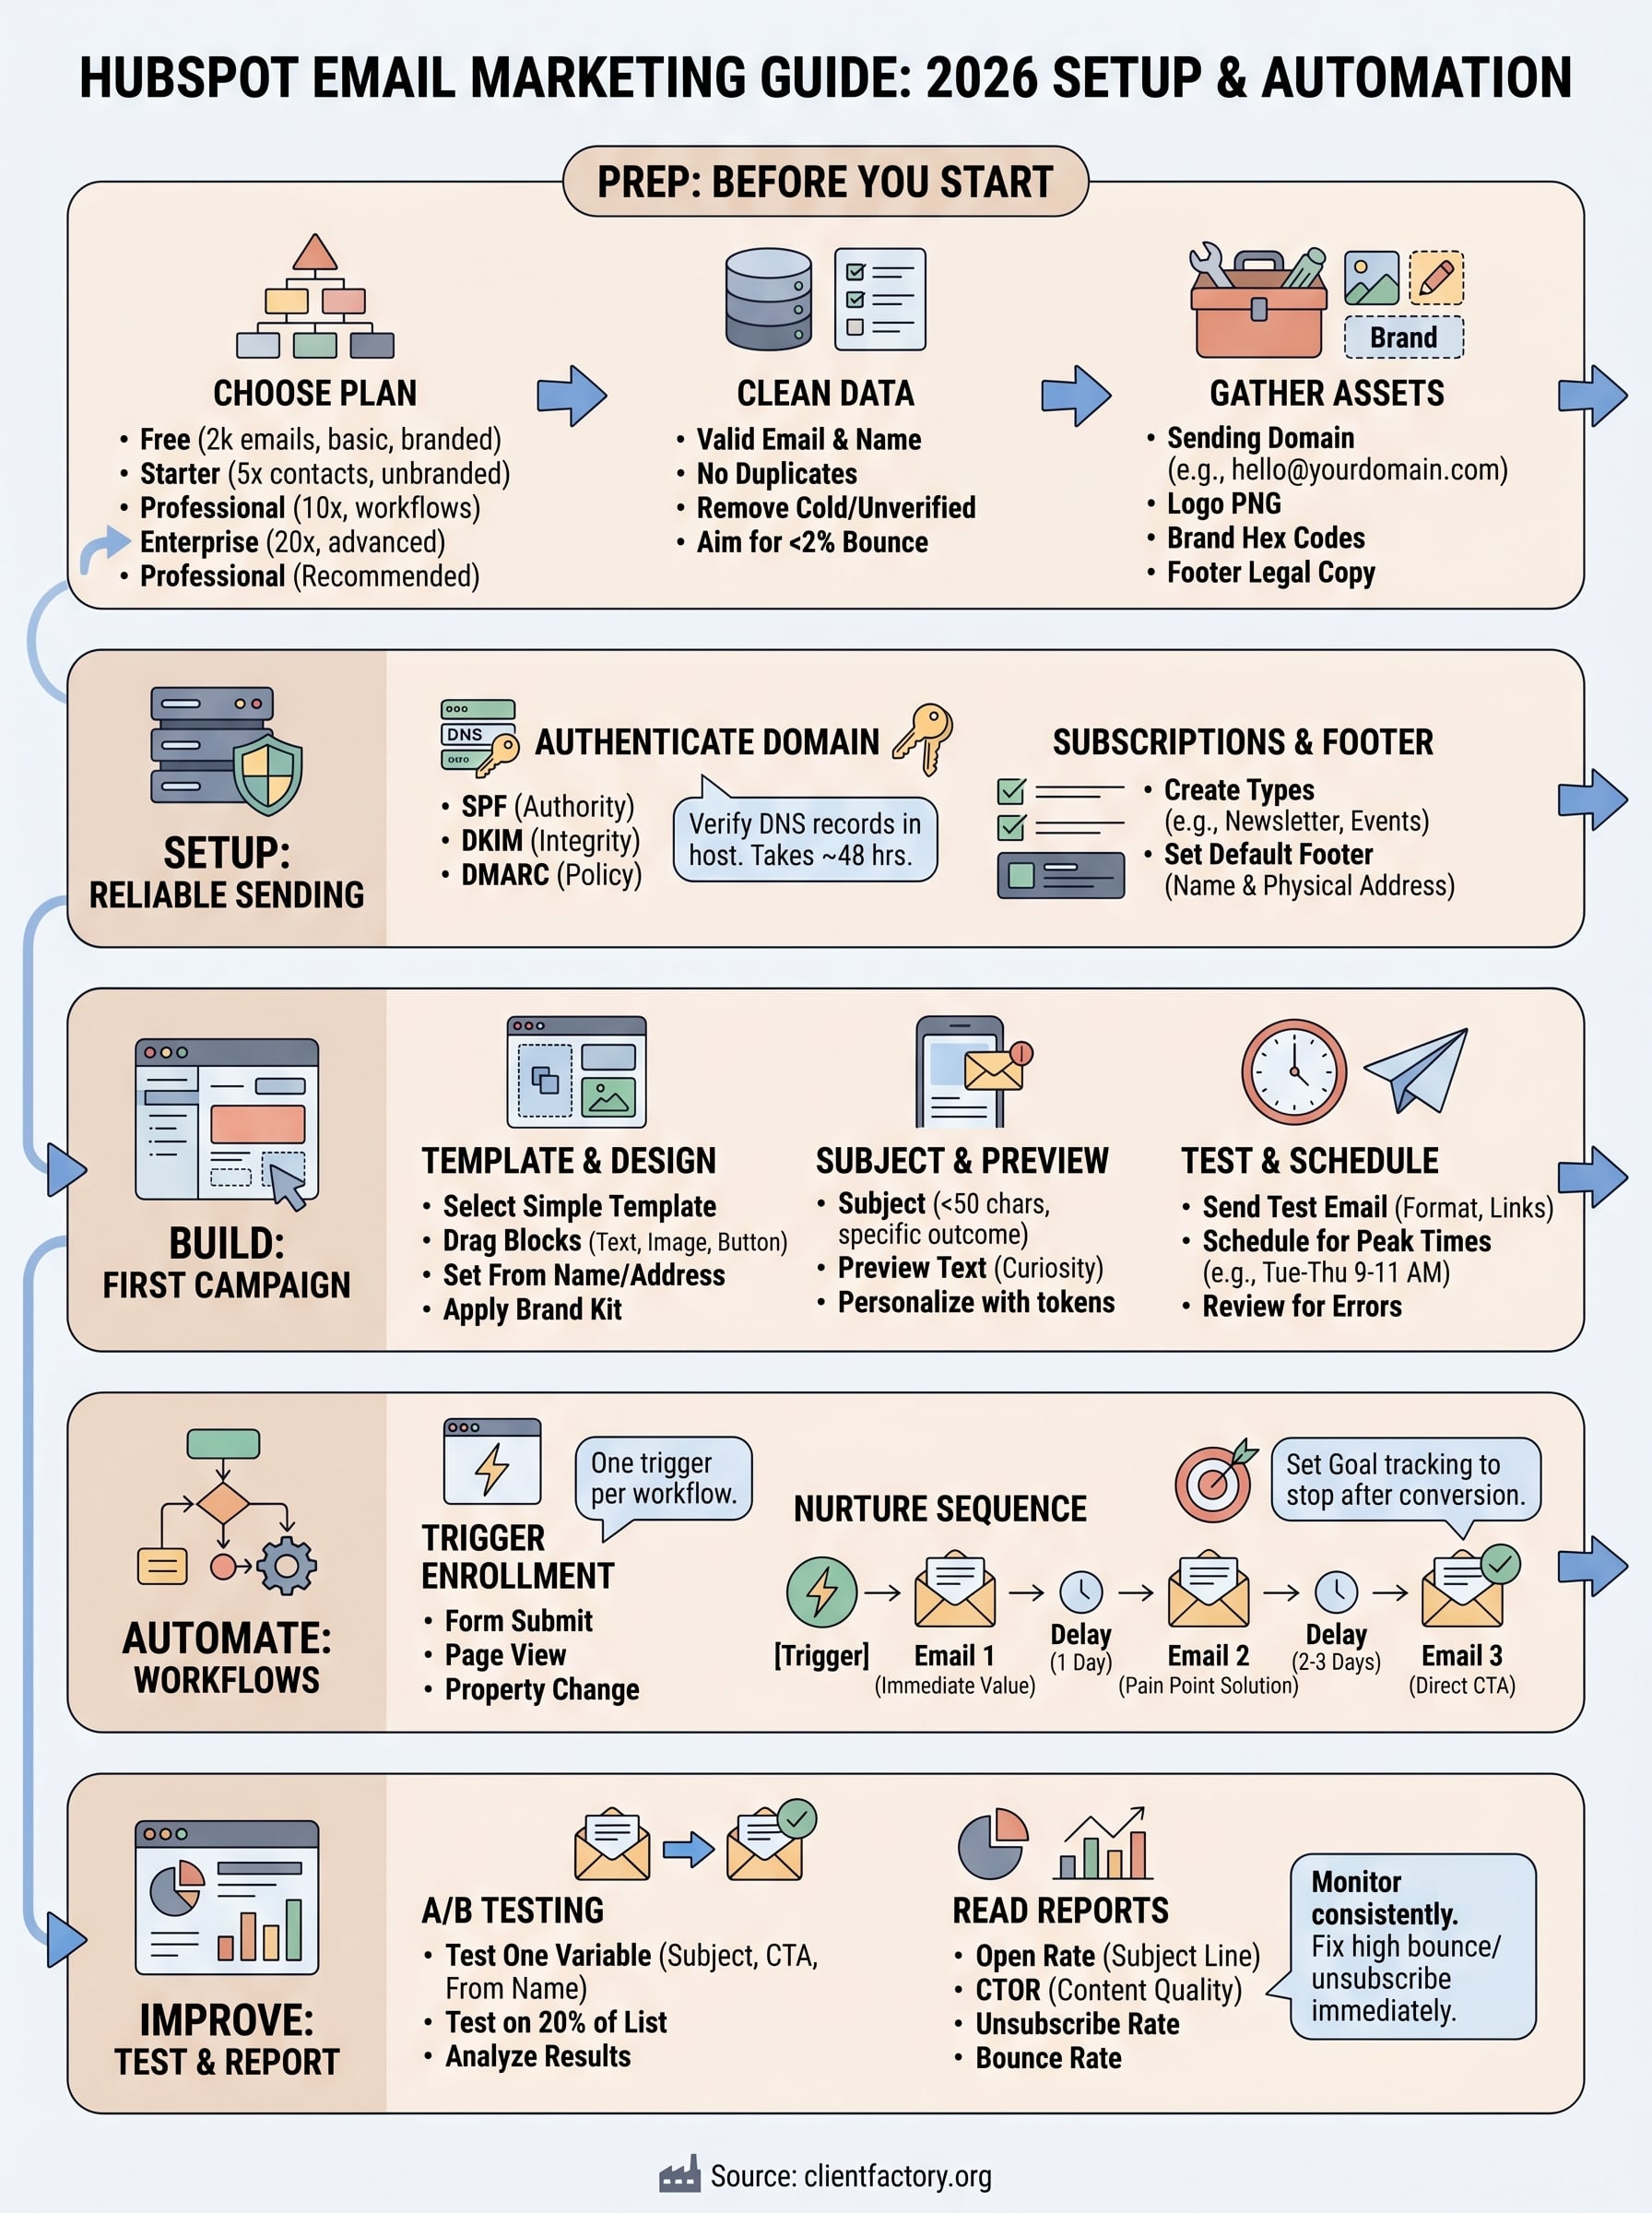
This hubspot email marketing guide gives you a complete path from raw setup to a system that consistently generates opens, clicks, and booked appointments. You authenticated your domain, built clean lists, wrote emails that earn attention, automated your follow-ups with workflows, and learned which metrics actually tell you what’s working. Each piece connects to the next, and the compounding effect of doing all of them well is a reliable email channel that works even when your team is heads-down on client work.
The biggest mistake most businesses make is treating email as a broadcast tool rather than a nurture system. Your contacts need the right message at the right moment, and HubSpot gives you everything to make that happen. Start with one workflow, test one variable at a time, and improve from there. If you want expert eyes on your full funnel, book a free conversion audit and we’ll show you exactly where to focus first.